
Planning a professional digital pixel LED installation—whether for a TV studio, music club, or architectural landmark—requires a structured approach to transition from a creative vision to a reliable, high-impact reality. Drawing on over 14 years of industry experience, this guide outlines the six essential steps of the project timeline.
Step 1: Initial Requirements Call #
The process begins with an Inspection and Interview phase to fully understand your goals and site constraints. During this initial call, we discuss your vision and the “WOW factor” you wish to achieve. We provide free technical consultations to brainstorm ideas and address early concerns regarding project feasibility.
Step 2: Detailed Technical and Visual Planning #
Once the requirements are set, we move into Technical Planning, which covers the visual appearance and material selection.
- Material Selection: We determine if your project is best suited for flexible LED strips, rigid pixel bars, or Neon Flex for architectural curves.
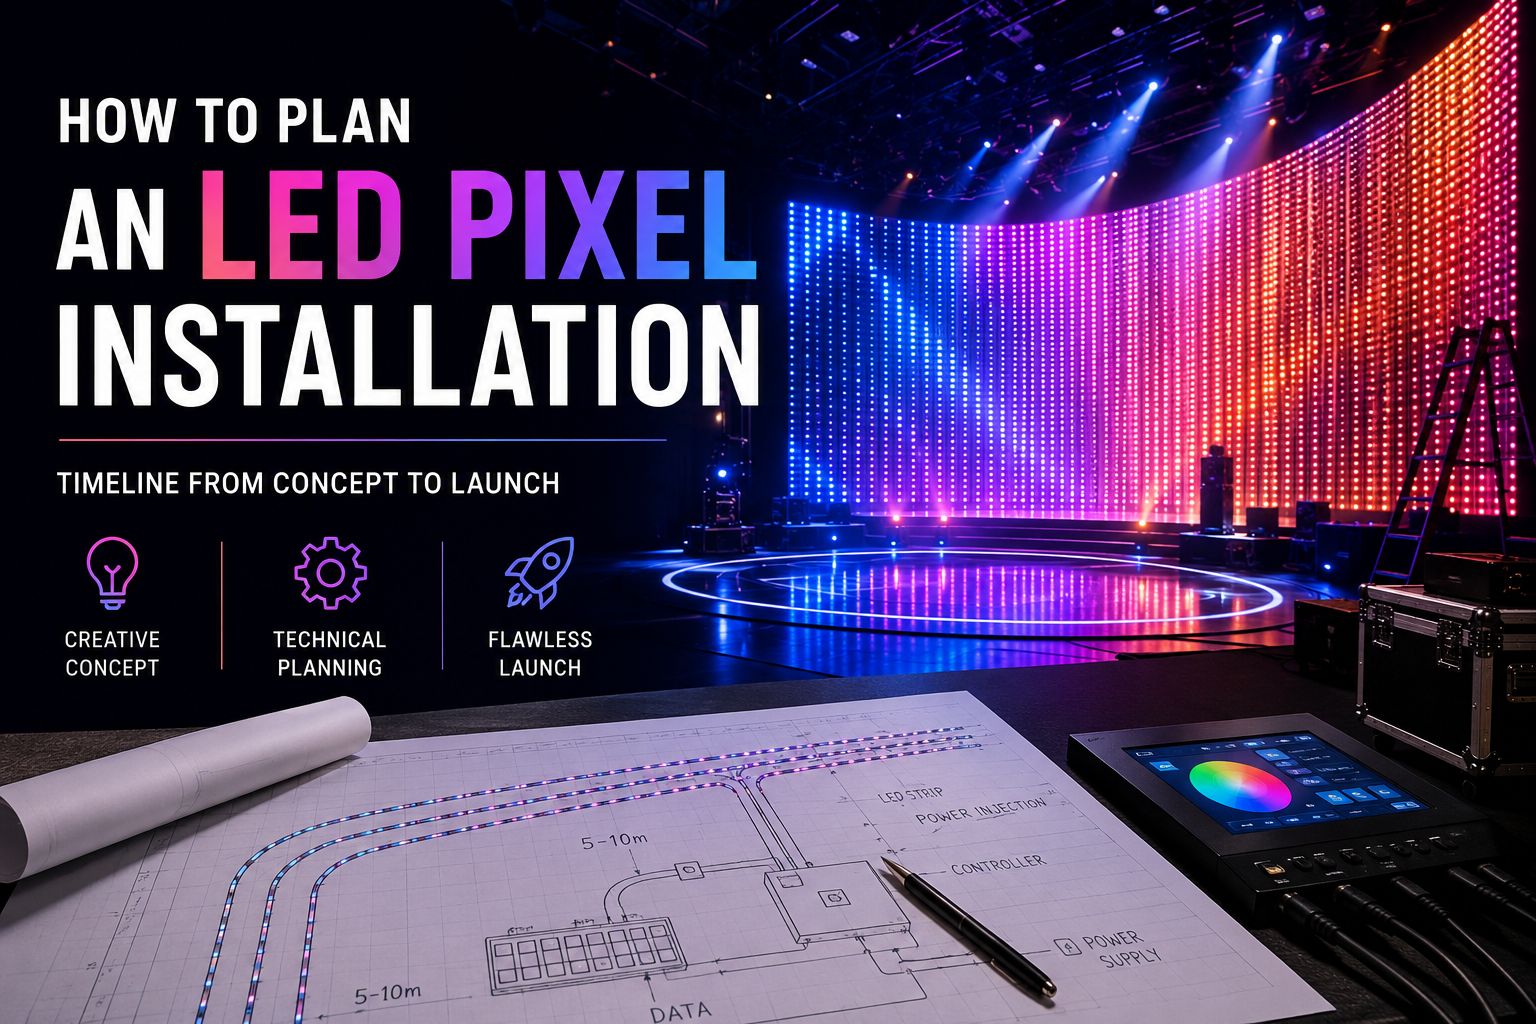
- Power and Signal: We calculate precise power requirements (typically 0.036A per RGB LED) and plan for power injection points every 5–10 meters to prevent voltage drop.
- Controllers: The “brains” of the system are chosen based on scale, such as the LEC3 for high-density 4,096-pixel setups or the Powered SPI LED Controller 2 for simplified rental installs. For complex venues, 3D scanning may be used to model the installation accurately in software before a single wire is pulled. In this phase, we also typically create a visualization for the client to ensure that we fully align on the project requirements.
Step 3: Detailed Price Offer and Optimization #
A comprehensive cost estimate is provided, where we discuss different pixel densities to find the perfect balance between visual resolution and budget.
- Pixel Density: Choosing 30 LEDs/m instead of 60 LEDs/m can save between 30% and 50% on material costs, as it requires fewer power supplies and fewer controller outputs.
- Efficiency: Tools like the Measure Strip Tool allow us to generate accurate estimates of required cabling and hardware in just a few clicks.
Step 4: Acceptance and Material Production #
After the offer is accepted, we enter the Production Phase, which typically takes 4 to 6 weeks. This includes assembling custom pixel controllers, manufacturing special PCB boards, and preparing tailor-made cable connections. For unique artistic projects, this lead time ensures that even non-standard LED fixtures are produced to the highest professional quality.
Step 5: On-Site Installation #
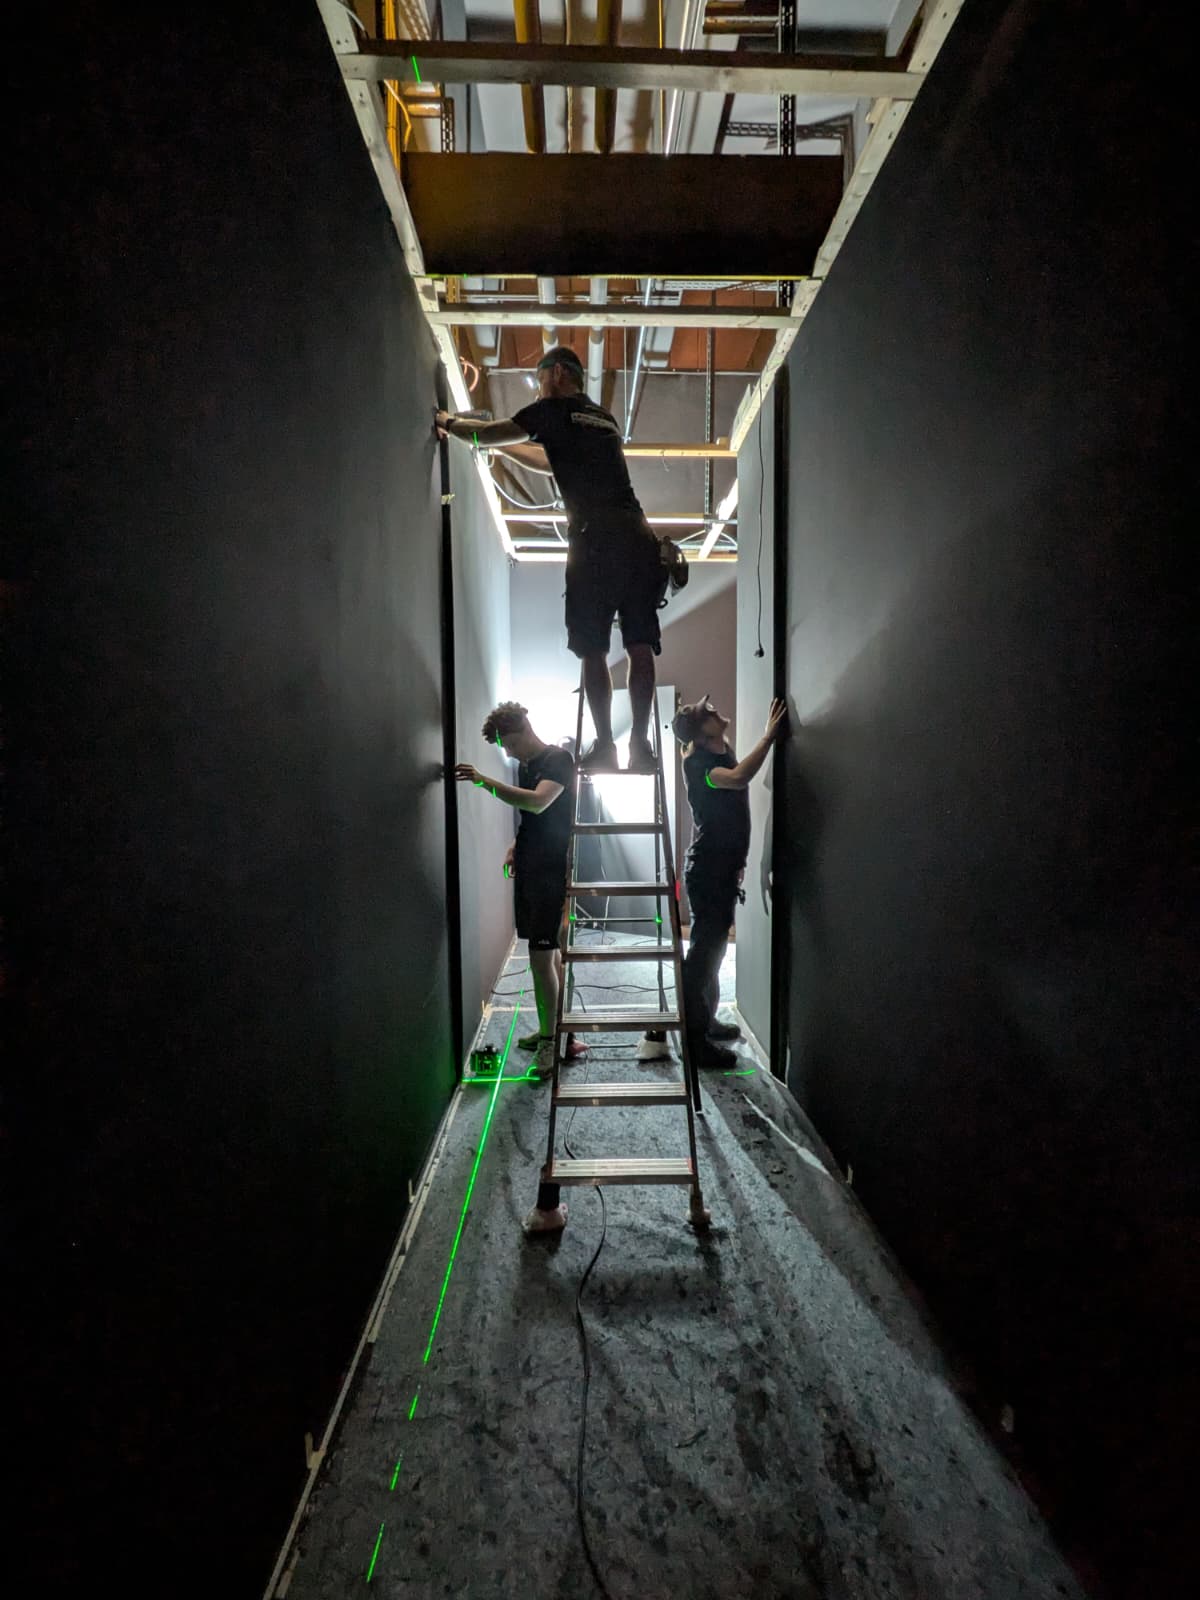
The Realization Phase brings the equipment to the venue for physical mounting. We use two reliable rules of thumb for budgeting labor:
- Standard Strips: One meter of pixel LED strip typically requires 1 hour of installation (soldering, mounting, and testing).
- Aluminum Profiles: If the design uses aluminum profiles that require precision cutting with a saw, the time increases to 2 hours per meter. Installation conditions like working at heights or fitting strips into tight ceiling intersections can make this a painstakingly precise process.
Step 6: Installation Support and Launch #
The final step is ensuring the system operates flawlessly.
- Staff Training: We provide specialized 1-on-1 training for your personnel to master the control software, mapping, and effect management.
- Custom Content: If required, our team can create complete music-synchronized LED shows or custom graphics specifically for your installation.
- On-Site Presence: For high-stakes environments like live TV shows, we provide non-stop technical presence to ensure the show goes on without interruption.
Final Thoughts #
A successful LED pixel installation is much more than mounting LED strips and connecting controllers. It is a carefully planned process that combines creative design, technical engineering, manufacturing, and professional execution. Taking the time to properly define requirements, optimize the technical solution, and prepare for installation can save significant costs while ensuring the final result delivers the intended visual impact.
Whether you’re transforming a nightclub, creating an immersive TV studio, or designing an architectural landmark, a structured approach and an experienced partner can turn an ambitious idea into a reliable installation that continues to impress visitors for years to come. Every remarkable LED installation starts with a well-planned first step—if you’re ready to bring your vision to life, book a consultation with us.
How long does it take to complete a full pixel LED installation?
It depends heavily on scale and complexity. The production phase alone (custom controllers, PCB boards, cable assemblies) typically takes 4–6 weeks before installation even starts. On-site, the rule of thumb is 1 hour per meter of strip for standard mounting, or 2 hours per meter if aluminum profiles with precision cuts are involved. A medium-sized club installation of 100 meters with profiles could take 200+ hours of on-site labor spread over several days or weeks.
Can I get a preview of what my LED installation will look like before it's built?
Yes, visualization is a standard part of the planning process. Using LED Strip Studio software and 3D models of your space, the team creates a digital preview showing how animations and effects will look on the actual surface geometry. For complex venues, 3D scanning can model the physical space accurately so the visualization matches what you’ll see in real life. This step catches design issues before any hardware is purchased.
What is power injection and why do installers keep mentioning it?
Power injection means connecting additional power wires to the middle or far end of a long LED strip run — not just at the start. As electricity travels down the strip, resistance in the copper tracks reduces the voltage, causing dimming and color shift at the far end. Injecting power at regular intervals (every 5–10 meters depending on the strip) keeps the voltage consistent throughout and ensures every pixel looks the same brightness and color.
Will my staff be able to change the LED scenes and animations after the installation?
Yes — staff training is a standard part of the handover process. The LED Strip Studio software and the LEC3 controller’s built-in web interface are designed to be usable by non-technical people for day-to-day scene selection and brightness adjustment. For content creation (new animations), that typically requires someone with more software knowledge, but basic operation — switching between pre-programmed scenes — is straightforward enough for venue staff.
Do I need a dedicated computer running permanently to control my LED installation?
No. Controllers with SD card storage like the LEC3 run entirely standalone once you’ve exported your animations from the software. The computer is only needed when you’re creating new content or making changes. Day-to-day, the controller powers on and plays back the programmed scenes automatically, with staff controlling scenes via smartphone web interface or a simple wall panel trigger.