
Creating a dynamic pixel LED installation—whether it’s a music-reactive club ceiling, a professional TV studio set, or a large-scale media facade—requires much more than just sticking LED tape to a surface. A professional setup is an ecosystem where planning, hardware quality, and technical expertise must align to ensure reliability and visual excellence.
1. Rigorous Planning: Power and Signal Distribution #
The most common mistake in pixel projects is insufficient planning regarding how power and data reach every diode.
- Power Calculations: You must calculate the total current draw of your pixels. A typical rule of thumb is that a pixel strip uses approximately 1.2A per meter. For example, 200 meters of 5V strip would require roughly 10 power sources rated at 150W each.
- Managing Voltage Drop: As electricity travels down a strip, voltage decreases, leading to pinkish hues or flickering at the end of long runs. You must plan for power injection points (re-injecting power every 5–10 meters) to maintain consistent brightness and color.
- Signal Integrity: Standard SPI (Serial Peripheral Interface) data is an unbalanced signal that typically degrades after just 3 meters. For large venues, you must plan for long-range solutions like The Symmetrizer, which allows data to travel up to 500 meters over standard Cat5/6 cabling.

2. High-Quality Strips and Pixels #
The quality of your “canvas” determines the longevity of the project. Budget-grade tapes often use thin copper tracks that are less conductive and more prone to mechanical failure.
- Premium Substrates: Look for professional strips with 3oz copper tracks for better heat dissipation and reduced voltage drop.
- Integrated Circuits (ICs): Choose a reliable protocol family. The WS2815 is highly recommended for professional installs because it operates at 12V (reducing voltage drop) and includes a backup data line so the entire strip won’t fail if a single pixel dies.
- Physical Protection: Depending on the environment, you may need strips encased in plastic tubes (IP67) or mounted in aluminum profiles with diffusers to create a smooth, dot-free light source.
3. Professional Controllers #
The controller is the “brain” of your system, translating software commands into the SPI language LEDs understand.
- Choice of Interface: For full control via mapping software, the LEC3 (LED Ethernet Controller 3) handles up to 4,096 RGB pixels and includes a lifetime software license. For rental or quick setups, the Powered SPI LED Controller 2 is ideal because it features a built-in 100W power supply, eliminating cable clutter.
- Protocol Support: Ensure your controller supports the specific IC chip on your strips (e.g., WS2811, SK6812, APA102).
4. Robust Cabling and Infrastructure #
The stability of your light show depends on the “highway” the data travels on.
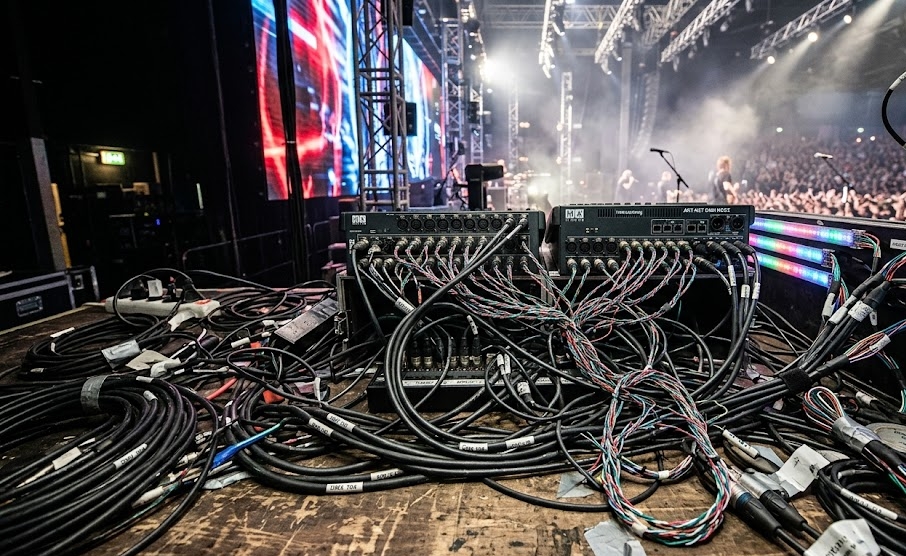
- Data Cables: Use high-quality FTP Cat5e or Cat6 Ethernet cables for connections between your computer, switches, and controllers.
- Power Cables: Follow the standard rule: 1mm² of cable area handles a maximum of 10A. Using the correct gauge prevents dangerous overheating and power loss.
- Network Hardware: For Art-Net systems, use quality managed switches and avoid on-board or USB network adapters, which can cause data bottlenecks.
5. Reliable Power Sources #
High-quality power supplies (PSUs) are essential for 24/7 operation.
- Matching Voltage: Your PSU voltage must match your LED voltage (5V, 12V, or 24V).
- Headroom: It is recommended to leave at least a 10% to 20% power overhead to handle peak inrush current and potential power spikes. Brands like Mean Well are the industry standard for their stability and safety certifications.
6. Technical Expertise: Wiring and Soldering #
Finally, the “human component” is critical. A pixel installation is a complex electrical project that requires precision.
- Soldering Skills: Proper soldering techniques are required to attach stranded copper leads to the small pads on LED strips without damaging the delicate components.
- Electrical Safety: Because you are dealing with high-current DC systems and AC mains, all pixel strips should be installed by a qualified electrician.
- Labor Estimation: A professional rule of thumb for budgeting is that one meter of LED strip requires approximately one hour of labor for preparation, soldering, mounting, and testing.
Smart Rules for Reliable Pixel LED Installations #
Designing a pixel LED system is about more than just connecting strips — it’s about building a reliable, scalable, and serviceable visual system.
-
Start with solid power design. Proper power distribution is key to long-term stability. Most installations require power injection every ~5 meters (depending on the LED strip type), unless you’re using optimized systems like ProfiLED.
-
Know your pixel limits. A single controller output typically handles up to 1024 pixels. For larger setups, the system should be intelligently split across multiple outputs to maintain performance and reliability.
-
Each visual segment needs its own signal. SPI data lines are not meant to be split for independent control. If you want separate control zones, each must have its own dedicated signal output.
-
Keep signal paths clean and short. For best performance, keep controller-to-strip signal cables within 1 meter. For longer distances, use signal extenders or distribution solutions like Symmetrier or SPI Lamp 2.
-
Protect every outdoor connection. In outdoor environments, waterproofing isn’t optional — it’s essential. Every connector, joint, and interface must be properly sealed.
-
Scale without limits when designed correctly. With professional controllers such as LEC3 or SPI Matrix, systems can scale to 100,000+ individual pixels while maintaining stable control and synchronization.
-
Always design for serviceability. LEDs are consumables over time. A smart installation is one that allows easy access, maintenance, and future upgrades without rebuilding the entire system.
-
Avoid using DMX to control pixel LEDs. Due to the limitation of around 170 RGB pixels per DMX universe, it quickly leads to a high number of required outputs and extensive cabling. For pixel-based installations, DMX is often inefficient and considered an outdated approach compared to modern pixel protocols.
How often should I inject power along a pixel LED strip?
For 5V WS2812B strips running at full brightness, inject every 1–2 meters. For 12V WS2815, every 5 meters is typically sufficient. These intervals keep the voltage at the strip above the IC’s minimum operating level, which prevents color shift and dimming. If you’re running at lower brightness (say 50% or less), you can often get away with longer intervals, but it’s always safer to plan for full brightness.
What's the practical difference between running strips at 5V vs 12V?
At 5V, current is high and voltage drops fast — you need power injection every meter or two and you can’t run long cables from your power supply to the strip. At 12V, the same light output requires less current, so voltage stays stable over longer distances and you need fewer injection points. For permanent installations or anything with runs longer than 2–3 meters, 12V is almost always the more practical choice.
What's a realistic pixel count per SPI output for a reliable installation?
Up to 1,024 pixels per output is the practical limit for clean, reliable SPI signal quality. Beyond that, timing errors and noise start to cause glitches. The LEC3 has 4 independent outputs, so 4 × 1,024 = 4,096 pixels total. For larger installations, add more controllers — each gets its own Ethernet connection and Art-Net universe range, and LED Strip Studio manages all of them from a single project.
What's the best power supply brand for permanent LED installations?
Mean Well is the industry standard for professional pixel LED installations. Their units are CE certified, have proper safety protection (over-current, over-voltage, short-circuit), and are built for 24/7 operation. Budget PSUs from unknown brands often work initially but fail prematurely or lack proper protection circuits that prevent damage in fault conditions. For anything that needs to run reliably without intervention, Mean Well is worth the extra cost.
How do I design an installation that's easy to maintain and repair in the future?
Plan for access from the start — don’t permanently seal strips into walls or ceilings with no service access. Use connectors rather than soldering strips together wherever possible so individual sections can be replaced. Document everything: pixel counts per output, IP addresses, power injection points, IC types. Use strips with backup data lines (WS2815) in hard-to-reach locations. A well-documented installation that a different technician can service is far more valuable long-term than a clever setup only the original installer understands.