
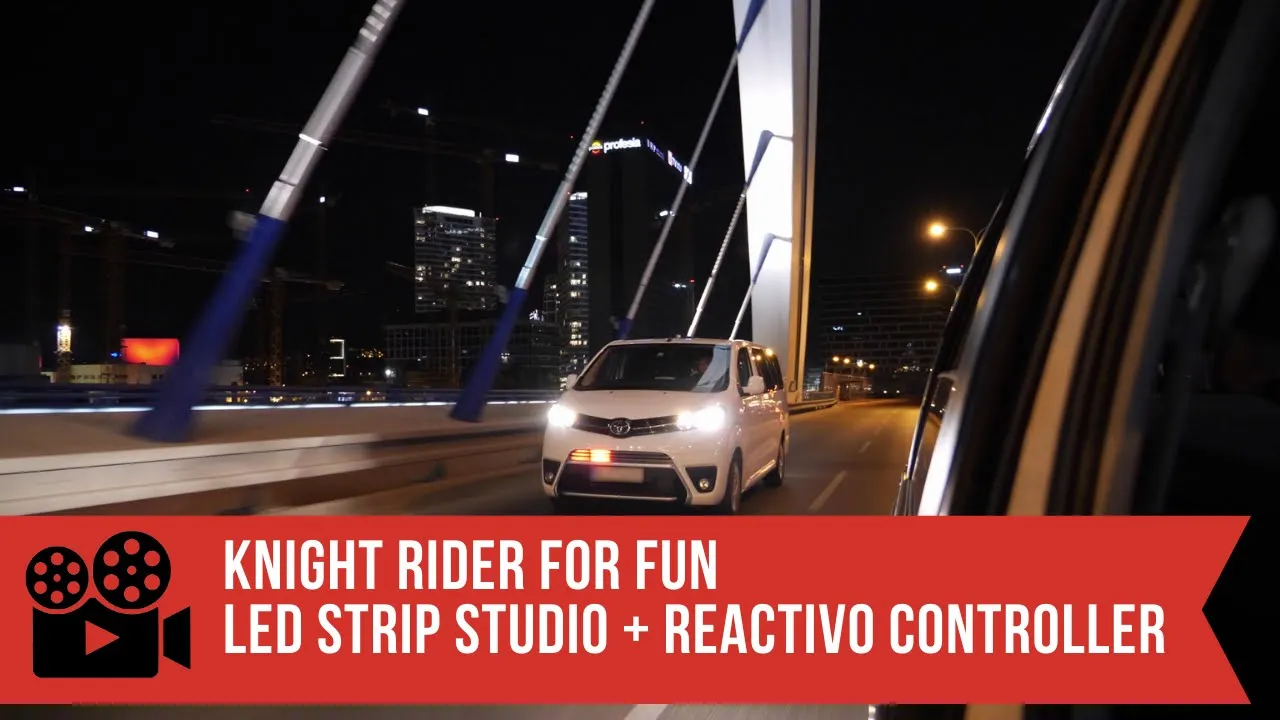

Project Quick Facts
Let’s be honest: putting a Knight Rider LED scanner on a Toyota is completely unnecessary. It serves no practical purpose. It is arguably illegal for road use. And it was absolutely worth doing.
This was an internal test project — specifically a real-world test of our REACTIVO controller in an automotive environment. We wanted to see how it handled being powered by a car battery, controlled over WiFi without any additional infrastructure, and mounted on a moving vehicle. The Knight Rider effect was just a happy excuse.
How We Mounted the Strips #
We used 12V addressable LED strips — the voltage match to a standard car battery made the whole power setup trivially simple. No voltage converters, no separate power supply. Strip positive to battery positive (through a fuse), ground to ground. Done.
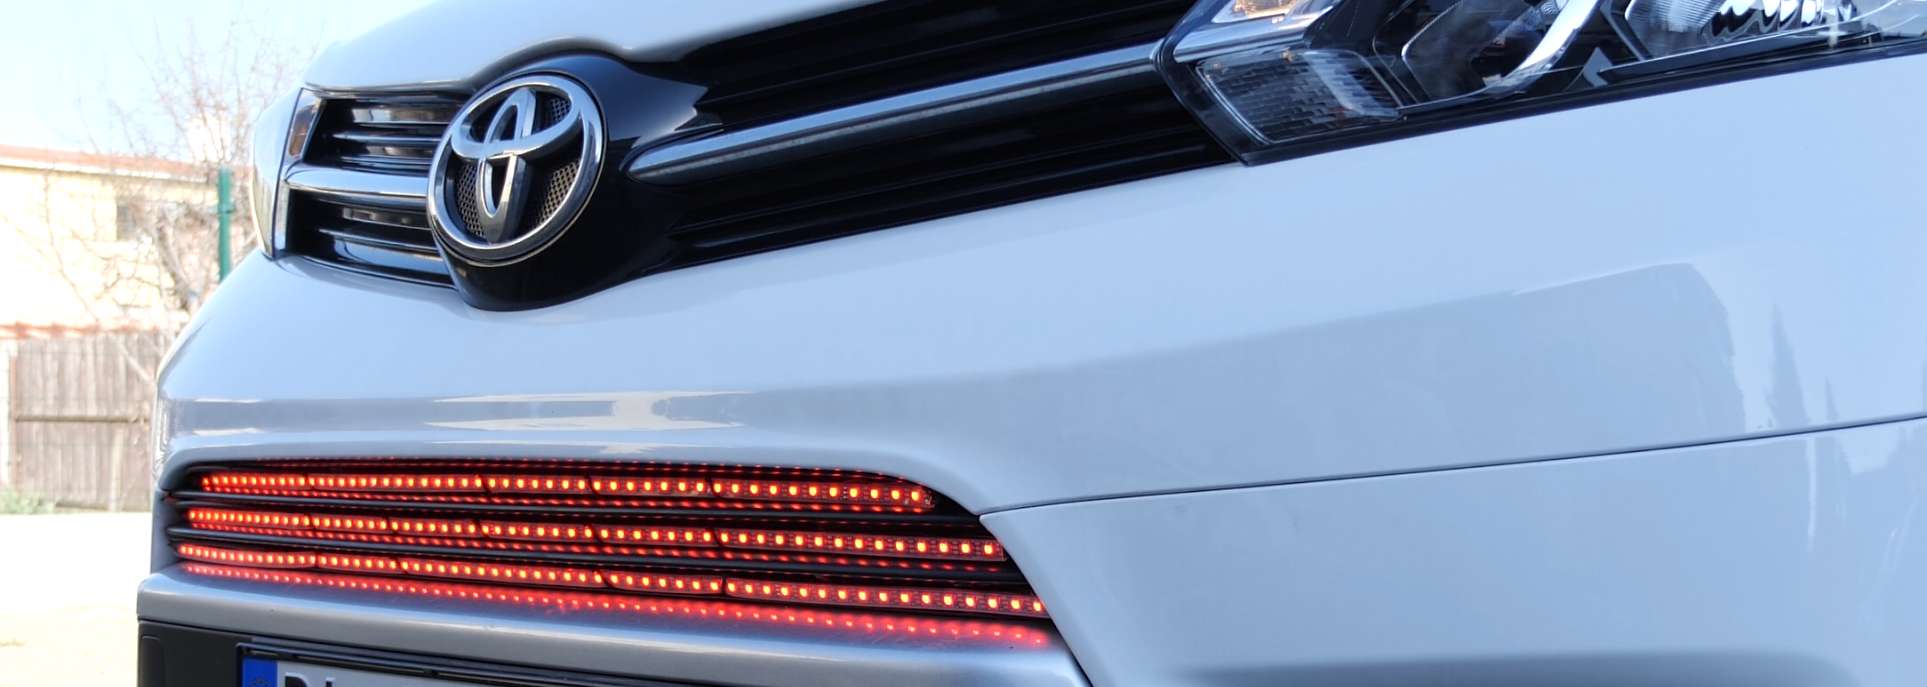
The mounting solution was magnetic tape. We stuck the digital LED strip onto a strip of magnetic tape, which then attached directly to the metal front bumper of the Toyota. The whole thing goes on in minutes and comes off just as fast with zero damage to the car. For a test installation — or for a car show where you want to add lights temporarily — this is the cleanest possible approach.
REACTIVO on 12V: Surprisingly Simple #
REACTIVO runs on 12V natively. That’s the same voltage as a car’s electrical system (nominally 12V, actually 13.6V when running — REACTIVO handles the range without issue). We connected it directly to the car battery alongside the LED strip.
Control was over REACTIVO’s built-in WiFi. From a phone connected to the same WiFi network, we could switch between animations stored on the SD card — no laptop, no cables, no external hardware. The controller’s standalone SD card mode means animations also play automatically at power-on, so you can just turn the car’s ignition on and the effect starts.
The setup we tested:
- 12V addressable LED strip on the front bumper
- REACTIVO controller mounted under the hood, connected to the battery
- Effects stored on the SD card — Knight Rider scanner, color sweeps, solid colors
- Switching effects from a phone via WiFi
The whole thing worked cleanly. Battery drain at low brightness for a short strip is negligible.
The Knight Rider Effect #
The classic Knight Rider scanner — the red sweeping light on KITT’s nose — is a single pixel of high brightness moving back and forth with a short trailing fade behind it. Simple in concept, immediately recognizable to anyone who watched 1980s TV.
In LED Strip Studio software, this takes about two minutes to build: a single-pixel chase animation with a brightness trail, set to the right speed, exported to the SD card. The addressable LED strip handles the rest. With modern LEDs the color accuracy and brightness is significantly better than whatever they used in 1982.
We also programmed a few other effects while we were at it — full color sweeps, strobe, a slow white ambient mode. All stored on the same SD card, selectable from the phone.
Is It Legal? #
No. Colored lights on the front of a vehicle are not road-legal in most jurisdictions, including Slovakia. This was a test project and a bit of fun — we use the Toyota to transport our LED dancers and equipment to events, and occasionally at those events there are car parties where creative vehicle lighting is very much encouraged.
For those contexts, it’s a great party trick. For everyday driving on public roads — leave it at home, or at least turn it off at the stop light.
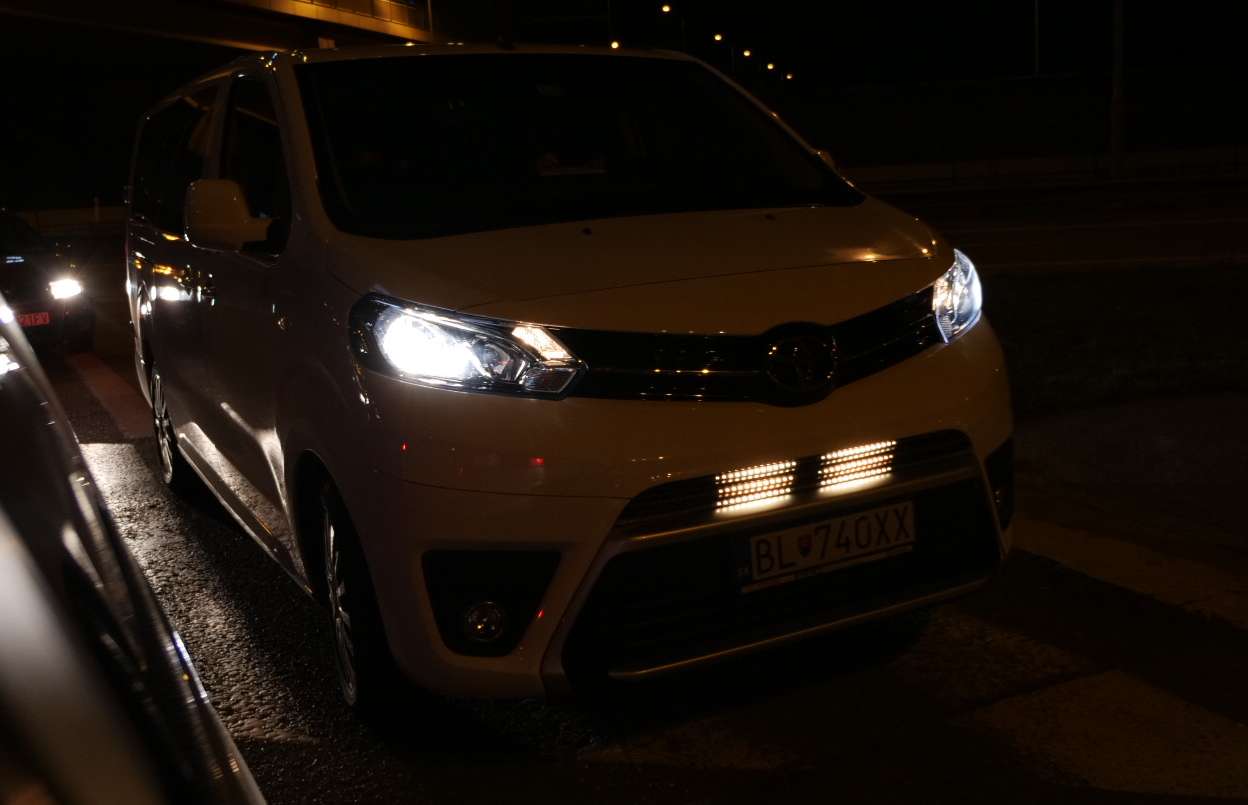
What This Actually Demonstrates #
Beyond the fun, this project validated a few genuinely useful things about REACTIVO:
- 12V compatibility makes it directly usable in automotive, boat, and outdoor battery applications
- WiFi control works without a router — phone hotspot is enough
- SD card standalone mode means the system is fully self-contained with no dependency on any external device
- Magnetic-tape mounting is a practical solution for temporary or removable LED installations on metal surfaces
If you’re building a car show display, a vehicle-mounted event prop, or any installation that needs to run from a 12V battery with no infrastructure around it, REACTIVO is a legitimate tool for that job. The Knight Rider effect is optional.
Frequently Asked Questions #
Can you power addressable LED strips directly from a car battery?
Yes, if you use 12V addressable LED strips. A car’s electrical system runs at nominally 12V (13.6V with the engine running, around 12V on battery alone). REACTIVO and most 12V LED pixel controllers handle this voltage range without issue. Connect through an inline fuse rated slightly above your expected peak current, and you’re good. Avoid 5V strips in automotive applications — you’d need a step-down converter, which adds complexity and a potential failure point.
How do you attach LED strips to a car without damaging the paint?
Magnetic tape is the cleanest temporary solution for metal body panels. Stick the digital LED strip onto a strip of magnetic tape and it attaches directly to the car’s metal surfaces — front bumper, door panels, roof — with no adhesive touching the paint. It removes instantly with no residue. For more permanent installs, 3M automotive double-sided tape is the industry standard, but that’s much harder to reverse cleanly.
How does REACTIVO work without a router or external network?
REACTIVO creates its own WiFi access point or connects to an existing network. For a car installation with no router present, you connect your phone directly to REACTIVO’s access point. From there the LED Strip Studio app reaches the controller over that direct connection. Alternatively, your phone’s mobile hotspot can act as the network — REACTIVO joins the hotspot and the app on the same phone controls it. No router, no internet, no infrastructure needed.
How do you create a Knight Rider scanner effect with LED strips?
In LED Strip Studio software, create a chase animation with a single bright pixel as the head and a short exponential fade trail behind it. Set the animation to bounce (reverse direction at each end) rather than loop. Adjust speed to taste — the original KITT scanner ran at roughly one sweep per second. Export to SD card and load into REACTIVO. Total build time is about five minutes. Use addressable LED strips like WS2812B or SK6812 for smooth per-pixel control.
Can REACTIVO switch effects without a phone or computer?
Yes. REACTIVO has a physical button input that can cycle through stored animations on the SD card. You can assign different effects to different button presses or set it to cycle sequentially. This means you can mount the controller inside the car and use a simple external button on the dashboard to switch effects without touching your phone. For a car party scenario, this is more practical than pulling out your phone every time.
Is it legal to put LED strips on a car?
It depends on your jurisdiction and how the lights are used. In most countries, colored lights on the front of a vehicle (anything other than white or amber) are not legal for road use. Underglow lighting laws vary widely — some states and countries permit it, others don’t. In Slovakia and most of the EU, colored decorative lights are not permitted for road use. For private property, car shows, closed events, and automotive exhibitions, there’s typically no restriction. Always check your local regulations before driving on public roads with decorative LED lighting.